


The job
Robbert is building a three-phase Victron setup with 3x 5 kVA Multipluses and a 48 kWh battery bank. The DC side needs six fat copper cables running from the Multipluses to the Lynx distribution busbar: one positive and one negative per inverter, 70 mm² cross-section each. This video covers making and routing those cables.
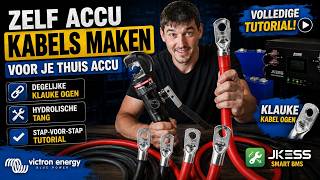
Cable lugs and crimping
For 70 mm² cable, don't cut corners on the lugs. Robbert uses Klauke lugs, not the cheaper imports. The reason is contact area and metal thickness: the lug has to clamp the copper strands tightly and stay clamped under thermal cycling. A bad crimp shows up later as a hot spot under load.
Crimping a 70 mm² lug needs serious force. Robbert uses an April hydraulic crimper from AliExpress. €35, swappable dies covering 4 to 70 mm², roughly 5 to 6 tonnes of force. A lever-style hand tool can't move that much copper, and the smaller manual crimpers need two passes per lug to get anywhere close.
The procedure is straightforward:
- Mark the strip length on the cable jacket
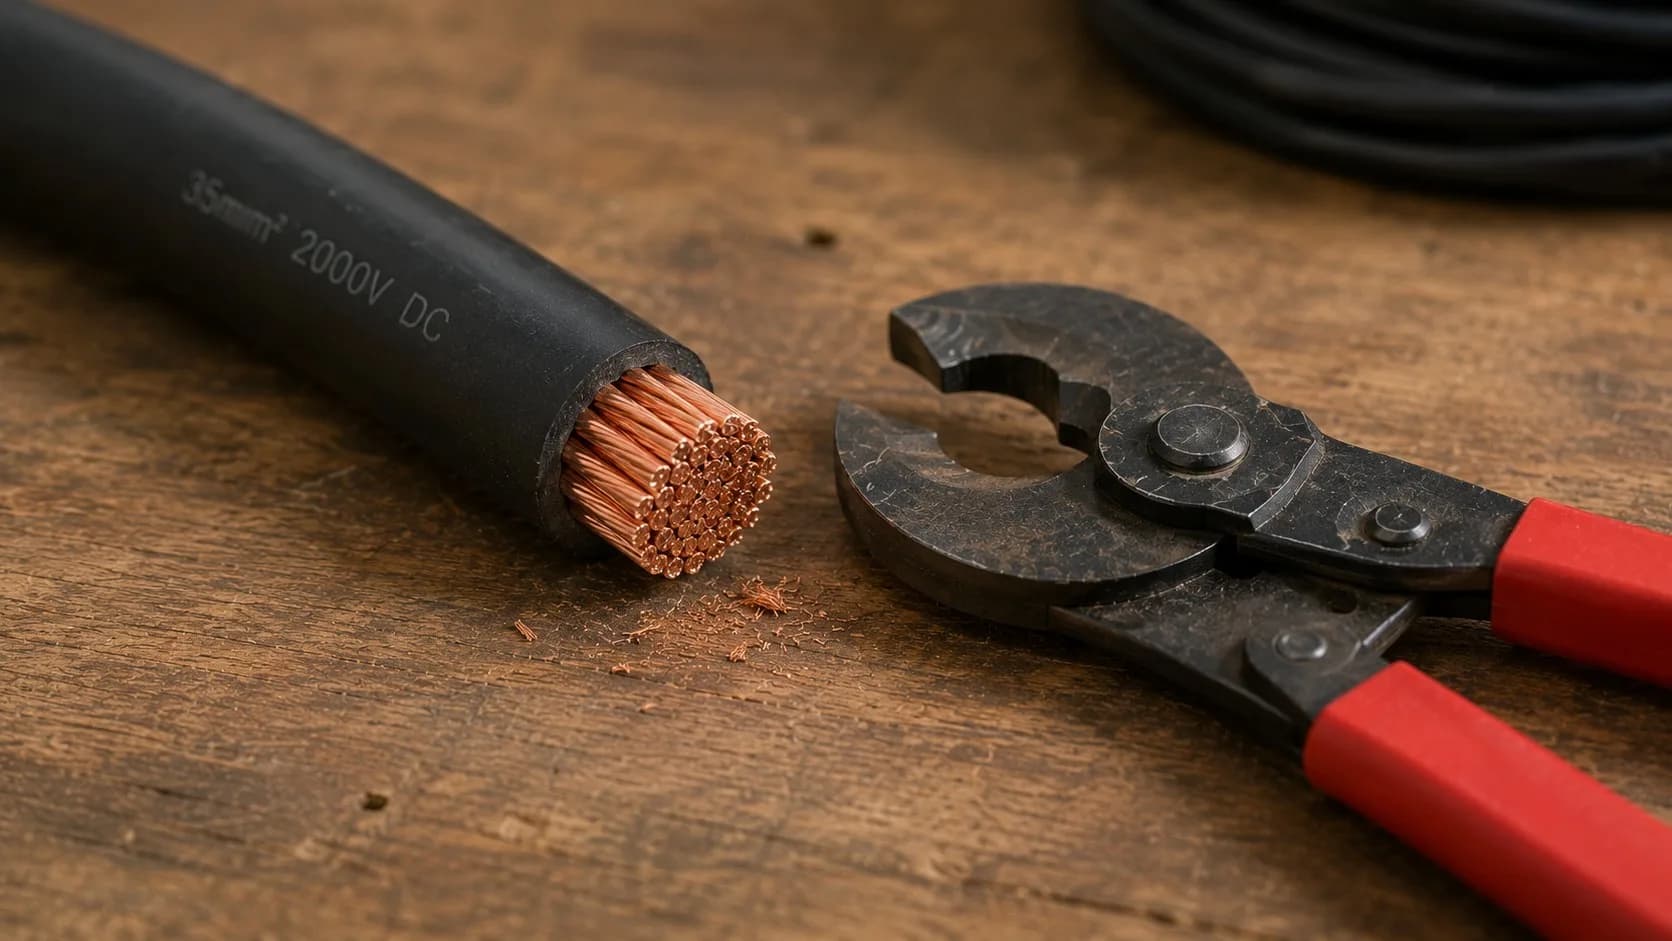
- Strip the jacket, slide the lug on
- Crimp with the hydraulic tool
- Cover the crimp with heat-shrink that has internal glue (harder to shrink, but stays put)
The heat-shrink goes a few centimeters past the jacket and stops at the front of the lug. Don't get heat-shrink onto the contact face of the lug itself: the goal is to insulate the joint, not the connection point.
The cable tray problem
Robbert mounted 60x40 mm cable trunking when he started the build. Plenty of room for the AC wiring on the upper run. Once he laid one 70 mm² cable into the trunking, it was clear the math wasn't going to work for six.
| Run | Cables | Size needed |
|---|---|---|
| Top trunking | AC wiring + 3 negatives going to Lynx | Larger than 60x40 mm |
| Bottom trunking | 3 positives + battery cables | Larger than 60x40 mm |
| Side trunking | Crossover wiring | Larger than 60x40 mm |
The fix was 60x80 mm trunking on the top, bottom, and side runs. Pulling the existing wiring out, swapping the trunking, and reorganising the labelled control wiring added two days to the project. Worth showing on camera, because trunking sizing is the kind of detail nobody talks about until it bites.
Routing for accessibility
Each cable was first laid in roughly to find the natural length, then cut at the marked point. The lug went on after the position was clear, not before. That means you end up cutting the cable to length in place, which is slower than measuring ahead but produces a tighter installation.
The Lynx Distributor terminals are close together. Robbert temporarily removed the orange protective caps to get a wrench in there. Three negatives went on first, then three positives. With the second (wider) trunking installed, the positives now run straight into the side opening of the trunking instead of forcing the lid open. That detail matters: if the trunking lid can't close cleanly, the entire benefit of routing the cables through trunking is gone.
Torque on the busbar bolts is set later with a torque wrench. The cables go on snug first, get inspected for fit and routing, then come off for heat-shrink, then go back on for final torque.
The fuse upgrade Robbert flagged
The Lynx Distributor ships with MEGA fuses. Robbert plans to swap them for Adler EF3 fuses before energising the system. The EF3 has a much higher AIC rating, which matters on this pack: 314 Ah LiFePO4 cells can deliver over 3000 A short-circuit current, and a MEGA fuse is only rated to interrupt 2000 A. The EF3 is a drop-in replacement with the same footprint.
The thermal test plan
Robbert's plan once the system is live: load it to the maximum, both charging and discharging, and run a thermal camera over every connection. The cables, the fuses, the busbars, the lugs. Anywhere a connection isn't tight or a cable is undersized will show up as a hot spot under load. Doing that test before the system is in daily service is how you catch the bad crimp you didn't know you had.
Takeaways
- 70 mm² cable needs a hydraulic crimper. A €35 AliExpress tool is enough if it's a real hydraulic with swappable dies.
- Size the cable trunking for the cable count plus a margin. 60x40 mm is too narrow for three 70 mm² cables plus AC wiring on the same run.
- Cut to length in place. Measuring on paper for a six-cable busbar layout almost always produces cables that are too long or too short.
- Heat-shrink with internal glue is slower to shrink but stays sealed. Avoid covering the contact face.
- Always plan a thermal test before the system goes into service. Connection problems are invisible until they're hot.