


Why this comes up so often
The comments under every Robbert build video include the same question: how are the battery cables made? The cables between busbar and pack carry hundreds of amps. A bad connection runs hot, melts the insulation, and eventually fails. Cables you buy with lugs already attached are also expensive and never the exact length needed. This is the workflow Robbert has used for years and has never had to redo because of a warm connector.
The lug matters more than the tool
Cheap lugs from AliExpress, Temu, and Amazon look the same in a photo. Hold one next to a Klauke-style lug and the difference is obvious: thin-walled barrel, thin tongue, a slit running down the side of the barrel that should not be there. The cheap version cannot carry the same current without warming up and cannot be crimped as hard, because the wall buckles before the copper compresses.
Klauke-style lugs use thicker copper for both the barrel and the tongue. More cross-section means lower resistance and more thermal mass. They are also a sealed barrel, so the crimp can compress the strands into a single mass without splitting the lug. Buy the better lugs. The difference per terminal is small. The difference at the busbar is large.
Why crimping, not soldering
Solder is a chemical bond. The tin has to wick into the copper strands and into the inner wall of the lug. Heating a thick cable enough for that to happen is hard, because copper conducts heat away from the joint as fast as it is added. From the outside it is impossible to see whether the tin actually flowed all the way through.
If the joint ever runs hot in service, the solder softens. The mechanical hold is gone, and the cable can pull out of the lug under its own weight. A properly crimped joint mechanically locks the cable into the lug. The strands are compressed into one solid plug of copper that the lug barrel grips along its full length. Even if it overheats, the cable does not let go.
The tool
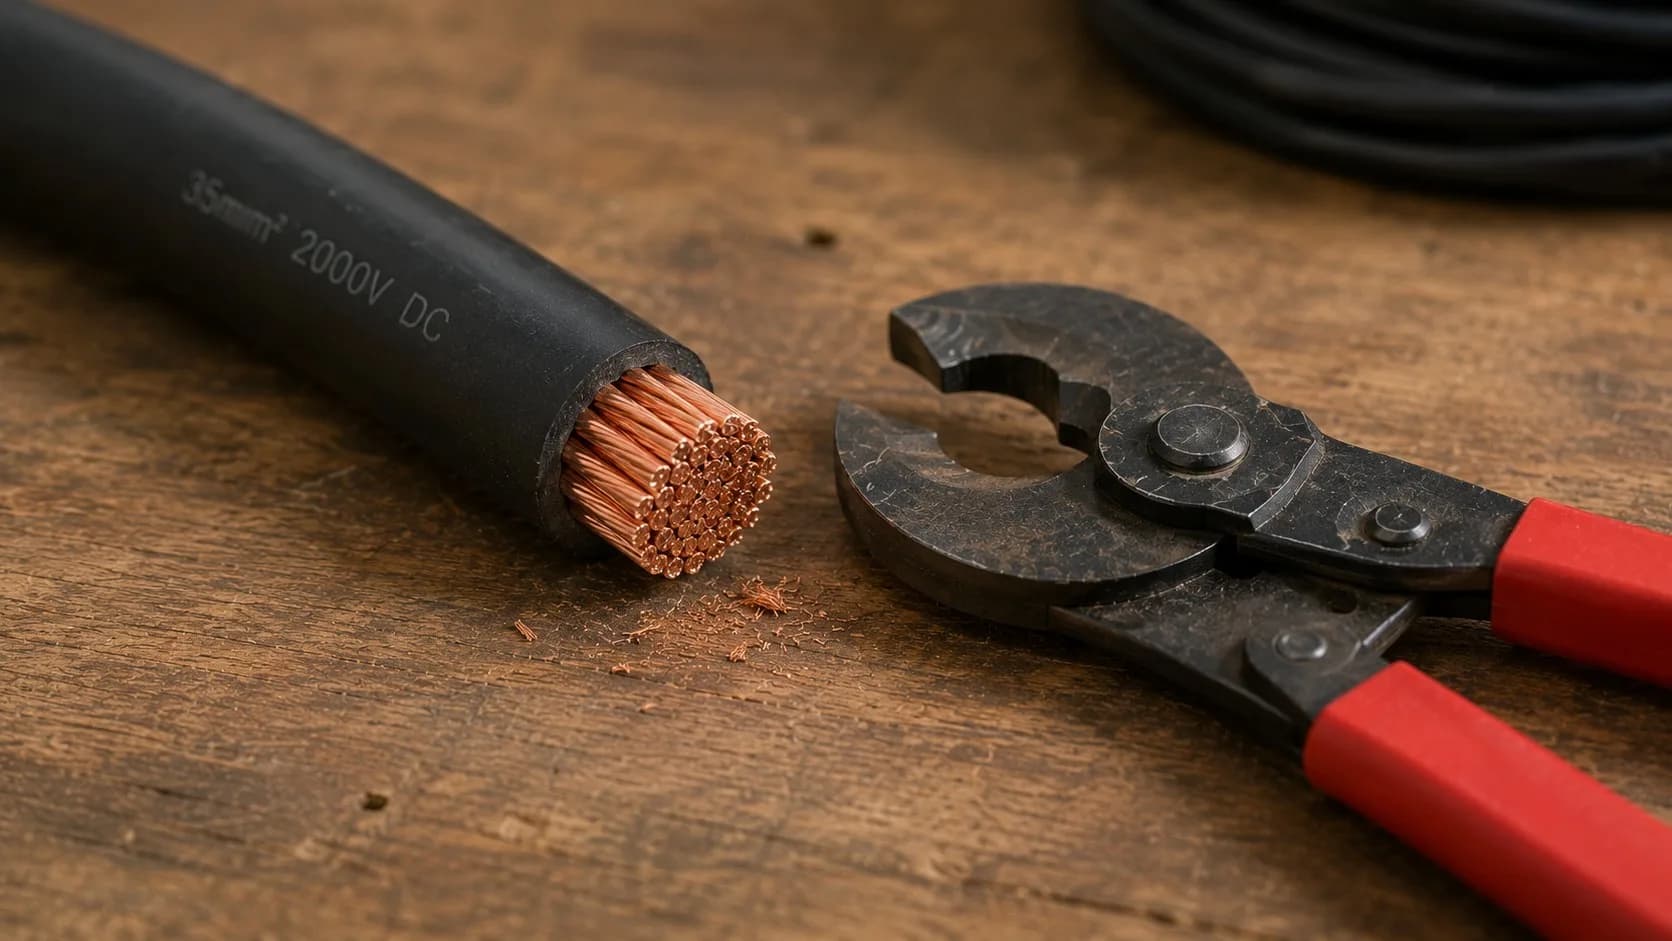
For 4 to 16 mm² cable a simple lever-style crimping plier from AliExpress works. For 25 mm² and up, especially 50 mm² and 70 mm², that style of tool cannot generate enough force. The wall of the lug will dimple but not fully compress the strands.
A hydraulic crimp tool solves it. The one Robbert uses costs about €40 on AliExpress and ships with interchangeable dies for 4, 6, 8, 10, 16, 25, 35, 50, and 70 mm². The 70 mm² cables for the three MultiPlus setup were made with this tool. Open the bleed valve, the jaws open. Close the valve, pump the handle, the jaws close with serious force. Reopen the valve, the jaws release. Slow but powerful.
Professional crimpers are better. They are also €5,000. For a single home battery install the €40 hydraulic tool produces joints that have stayed cool under 4 kW discharge for years.
The actual workflow
- Match the die to the cable. A 35 mm² die for a 35 mm² cable. Wrong die is a wasted crimp.
- Strip slightly long. Strip enough cable to bottom out in the lug barrel, plus a small margin. A few millimeters poking out the back of the lug is fine. Short of the back is not.
- Load the die first. Close the valve, put the lug into the open die, pump until it just holds the lug. That leaves a hand free for the cable.
- Push the cable all the way in. Strands fully inside the barrel, against the back wall. A nudge extra rather than a fraction short.
- Pump until the jaws are fully closed. This takes effort even with hydraulics. Stop when the dies meet, not before.
- Open the valve and inspect. The barrel should be uniformly compressed around the cable with no visible gap.
- Second crimp toward the back of the barrel. Roll the lug a quarter turn, crimp again. Larger contact area, no protruding crimp ridge to pierce the heat-shrink later.
- Flatten the side wings. The crimp leaves a small raised lip on each side of the barrel. One more pass at a slight angle, very light pressure, flattens them. The heat-shrink will not cut later.
- Heat-shrink. Cut a piece of red or black shrink to length, slide it over the lug barrel and onto the cable insulation, leave the contact face clean. Heat with a lighter, heat gun, or torch until it shrinks tight.
Why make them at all instead of buying pre-made
Pre-made cables with lugs cost a lot more because the work to attach the lugs is in the price. They also come in fixed lengths. From busbar to pack the cable length should be as short as practical and identical on the positive and negative side. From inverter to inverter, if a single MultiPlus runs on one phase, length tolerance is loose. If two MultiPlus units are paralleled on the same phase, the cable lengths must be exactly equal so the current splits evenly between them and one inverter does not carry more than its share.
Custom lengths are easier to make than to source. The €40 tool pays for itself by the third cable.
Takeaways
- Spend money on the lugs. Cheap thin-wall lugs run hot and crimp badly regardless of which tool is used.
- Crimp, never solder. A mechanical lock survives the temperatures that would loosen a soldered joint.
- A €40 hydraulic tool covers 4 to 70 mm² and produces joints that hold up under multi-kilowatt discharge.
- Crimp twice along the barrel and finish with a light flattening pass so the heat-shrink stays intact.
- Equal cable lengths matter only when inverters are paralleled on the same phase. For a single-pack-to-busbar run, match positive and negative and move on.