



The build state
Three Multiplus 2 units mounted on the wall, the Lynx busbar tied in, the Cerbo wired, all the AC cabling routed through cable trays for a tidy run. There's an extra main switch above the workbench that can cut the feed from the meter cupboard to the shed. Next to it sits a 25 A earth-leakage breaker protecting the return cable. The DC side uses 70 mm² cables. Several commenters had pointed out that's overkill for this setup. Robbert prefers oversized to undersized: thermal headroom is cheap, post-fault repair is not. The thermal camera will go over every joint anyway.
This article covers two things: the DC layout from pack to busbar, and the soft-start procedure for connecting them safely the first time.
The DC layout
Going from the battery to the inverters:
| Stage | What it does |
|---|---|
| Shunt | Reads pack current. Self-built on a 3D-printed housing, based on a converted Lynx Power unit. |
| Distribution | Also a converted Lynx Power. Same function as a Lynx Distributor at a fraction of the price. Only missing feature: the LEDs that flag a blown fuse. |
| MEGA fuses | Currently fitted with Victron MEGA fuses. Will be swapped for EF3 fuses later (better suited for this fault profile). |
| 70 mm² cables | Run from the distribution to the Multiplus inputs. |
The pack itself sits in a steel cabinet under the inverters. The BMS, originally on the side, had to be moved to the front because the assembled pack turned out too wide to fit with the BMS on the side. The Lynx Power cover comes off so the thermal camera can see the actual joints.
Getting cables in and out of the sealed cabinet
The cabinet is closed but the DC cables need to enter from the top. Robbert drills two holes through the top panel. Because the pack is already inside and is heavy enough that pulling it out isn't practical, he packs the pack in plastic before drilling to keep metal swarf out of the cells. Each hole gets a 3D-printed rubbery grommet to keep the cable jacket from rubbing on raw metal.
Crimping the lugs
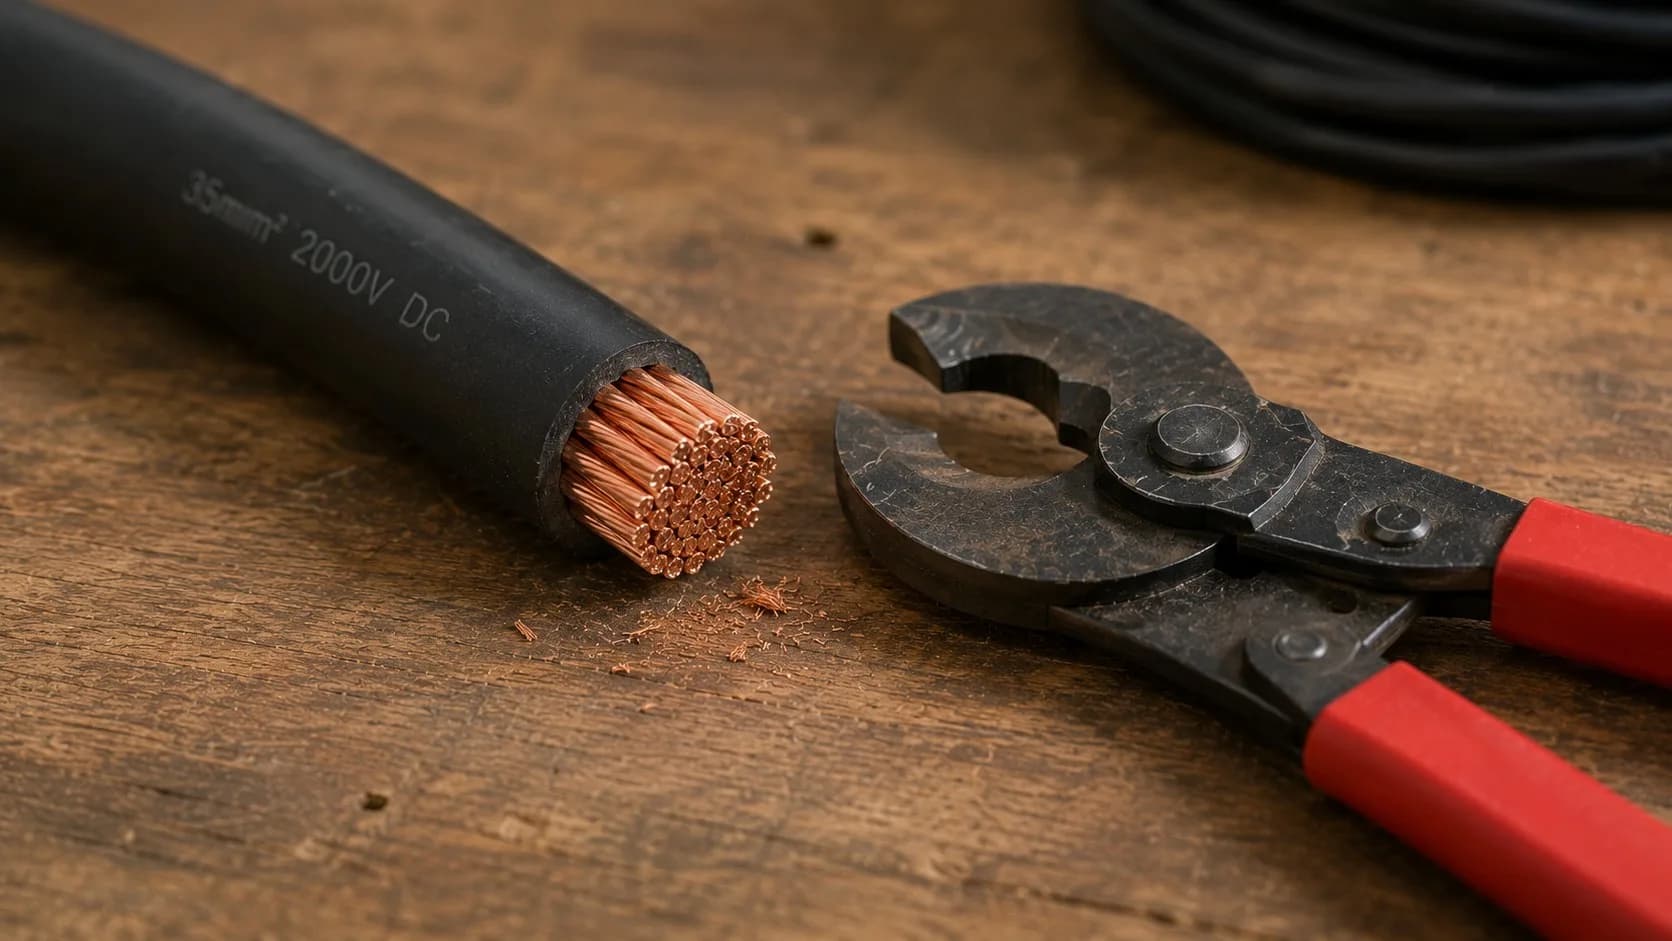
Robbert uses claw-style lugs and a hydraulic crimp tool from AliExpress. Cheap, but mechanically sound for this work. The procedure is the same for every cable end:
- Measure how much jacket needs to come off.
- Strip to depth, no strands sticking out past the lug.
- Slide the lug all the way home.
- Close the tool's bleed valve, pump, and let the crimp close around the cable.
- Open the valve, remove the tool.
Heat-shrink goes over the lug, but he's out of heat-shrink during the video, so the cable is fitted bare for filming.
Routing the cables
Negative comes up first because it's the easier path. The cable goes from the bottom of the cabinet up through the top hole, into the overhead cable tray, and across to the bottom terminal of the Lynx Power. Positive takes the second hole and lands on the top of the busbar. Both connections use a hex nut, a spring washer, and a flat washer in order, hand-tightened first, then torqued.
There's an in-line fitting on the front of the pack: he's using bolt-mounted fuse holders as the pack terminals themselves, so the plus and minus posts on the pack are already fused. A small bonus layer of safety on top of the busbar fuses.
The capacitor problem
This is the load-bearing part of the video.
The three Multiplus units are at 0 V. They each contain a substantial DC capacitor bank. The battery pack is sitting at 51.2 V. The moment the main pack cable lands on the Lynx busbar, the inverters' capacitors try to charge from zero to 51.2 V instantly. That inrush:
- Can damage the cables (less of an issue with 70 mm²).
- Can blow the fuses.
- Can damage the BMS.
- Is not good for the Multiplus capacitors.
The cure is to pre-charge the capacitors slowly through a current-limiting load before making the real connection.
The lamp trick
Robbert's pre-charge tool is a 60 V, 10 W incandescent lamp wired between two crocodile clips. The lamp filament acts as a current limiter. It can't pass enough current to damage anything but enough to bleed the capacitor bank up to pack voltage over a few seconds.
The procedure:
- Confirm the busbar reads 0 V with a multimeter. Confirm the pack reads 51.2 V.
- Clip one end of the lamp circuit to the pack negative-side fuse.
- With the positive cable already routed but not yet bolted, clip the lamp's other croc to the cable end heading to the Lynx Power input.
- Lamp lights up. Current flows. Capacitors charge.
- Watch the busbar voltmeter climb until it matches the pack voltage. Lamp dims as the differential drops.
- Once equalised, it's safe to land the cable on the busbar directly.
No bang. No arc. No pitted lug. The pre-charge is the only safe way to make a first connection between a charged battery and an inverter's empty capacitor bank.
Powering up
With the DC connection in and the front toggle switch flipped on each Multiplus, lights start blinking on all three units. Hardware is live. But the firmware on them is wrong for this set, the three-phase configuration doesn't exist yet, and the Cerbo doesn't recognise them. That's the next video.
Takeaways
- A discharged capacitor bank on a Multiplus is effectively a short circuit at the moment of connection. Pre-charge first.
- A 10 W incandescent lamp is a good enough current limiter for soft-start on a 48 V LiFePO4 pack. Two crocodile clips and a fitting are the whole tool.
- Drill cabinet holes with the pack wrapped. One metal sliver inside the pack is worse than the dust on the workbench.
- A Lynx Power housing can be reused as a Lynx Distributor with the right modifications. Saves a lot, costs the indicator LEDs.
- The first connection sequence is: measure, clip, pre-charge, verify voltage match, then bolt.