
Why The Order Matters
People want to skip to the fun part: buying the battery.
Bad idea. If you buy the battery before you know how much power you actually use, you'll either get one too small (lights go out) or one too big (money wasted).
So the steps are in order for a reason. Do them in this order and you'll get it right the first time.
Step 1. Figure Out How Much Power You Use
Walk around your house. Make a list of everything that uses power. Fridge. Lights. Laptop. Whatever else.
For each one, write down two numbers. How many watts it uses, and how many hours a day it runs.
Multiply, add them all up. That's your daily power use.
→ Read more about assessing your power needs
Step 2. Pick The Battery Type
This is where chemistry comes in. The main options:
LiFePO4 is the favorite for off-grid homes. Safe, lasts 13+ years, expensive up front.
Lead-acid is cheap, heavy, and dies faster. Works if budget is tight.
Saltwater is the safest option. Heavier, lower power per kilo, but you don't have to worry about fire.
For most builds, LiFePO4 is the answer.
→ Read more about picking a battery
Step 3. Size The Battery And Inverter
Now you use the numbers from step 1.
Daily power use × number of backup days = how big your battery needs to be.
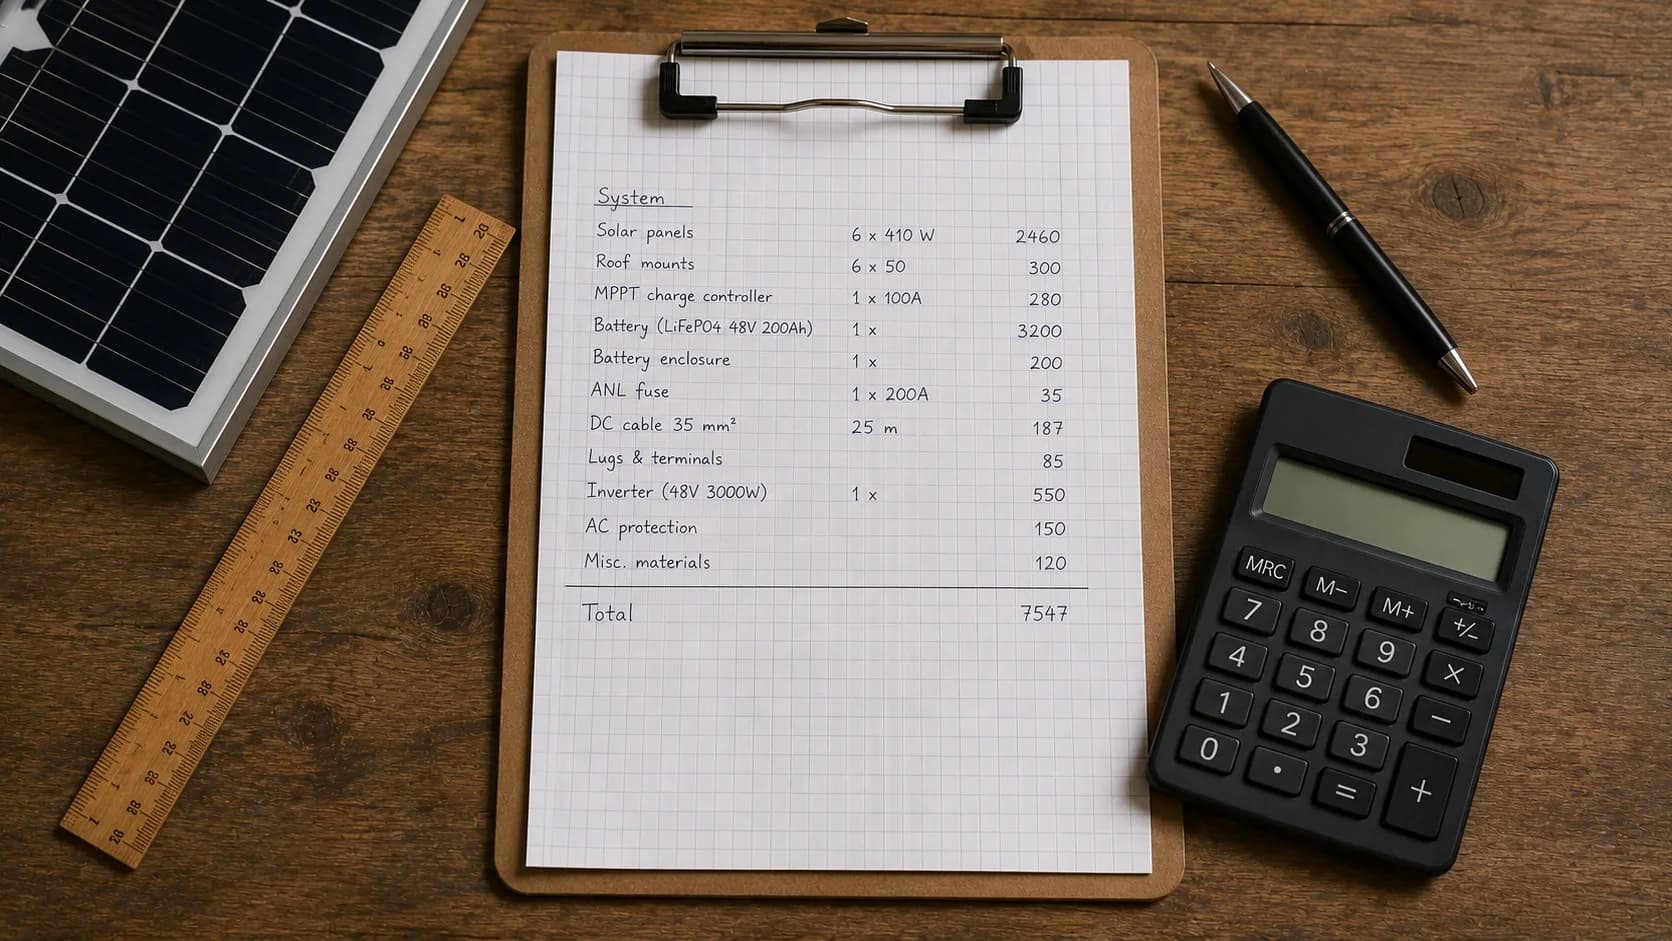
Most off-grid homes plan for 2 or 3 backup days. So if your house uses 5 kWh a day, you want a battery around 10-15 kWh.
For the inverter, look at what runs at the same time. Fridge plus TV plus a few lights might be 1000 watts. Add 25% for safety. Buy a 1250-watt inverter or bigger.
Step 4. Solar (If You're Adding It)
Most home batteries are paired with solar panels. The panels fill the battery during the day, the battery runs the house at night.
How many panels? Divide your daily power use by your area's average sun hours. That tells you how much solar wattage you need.
→ Read more about solar panels
Step 5. The Charge Controller
This is the box between your solar panels and your battery. It makes sure the battery gets the right amount of power. Without it, a strong sunny day fries your battery in a few hours.
Get an MPPT controller (not PWM) unless your system is tiny. The extra cost pays itself back in saved solar power.
→ Read more about charge controllers
Step 6. Monitoring
Add a shunt and a monitor. Twenty euros for the part. Saves you thousands by stopping you from killing the battery through guesswork.
Step 7. Wire It Up Safely
This is the step where people get hurt or burn things down. Don't rush.
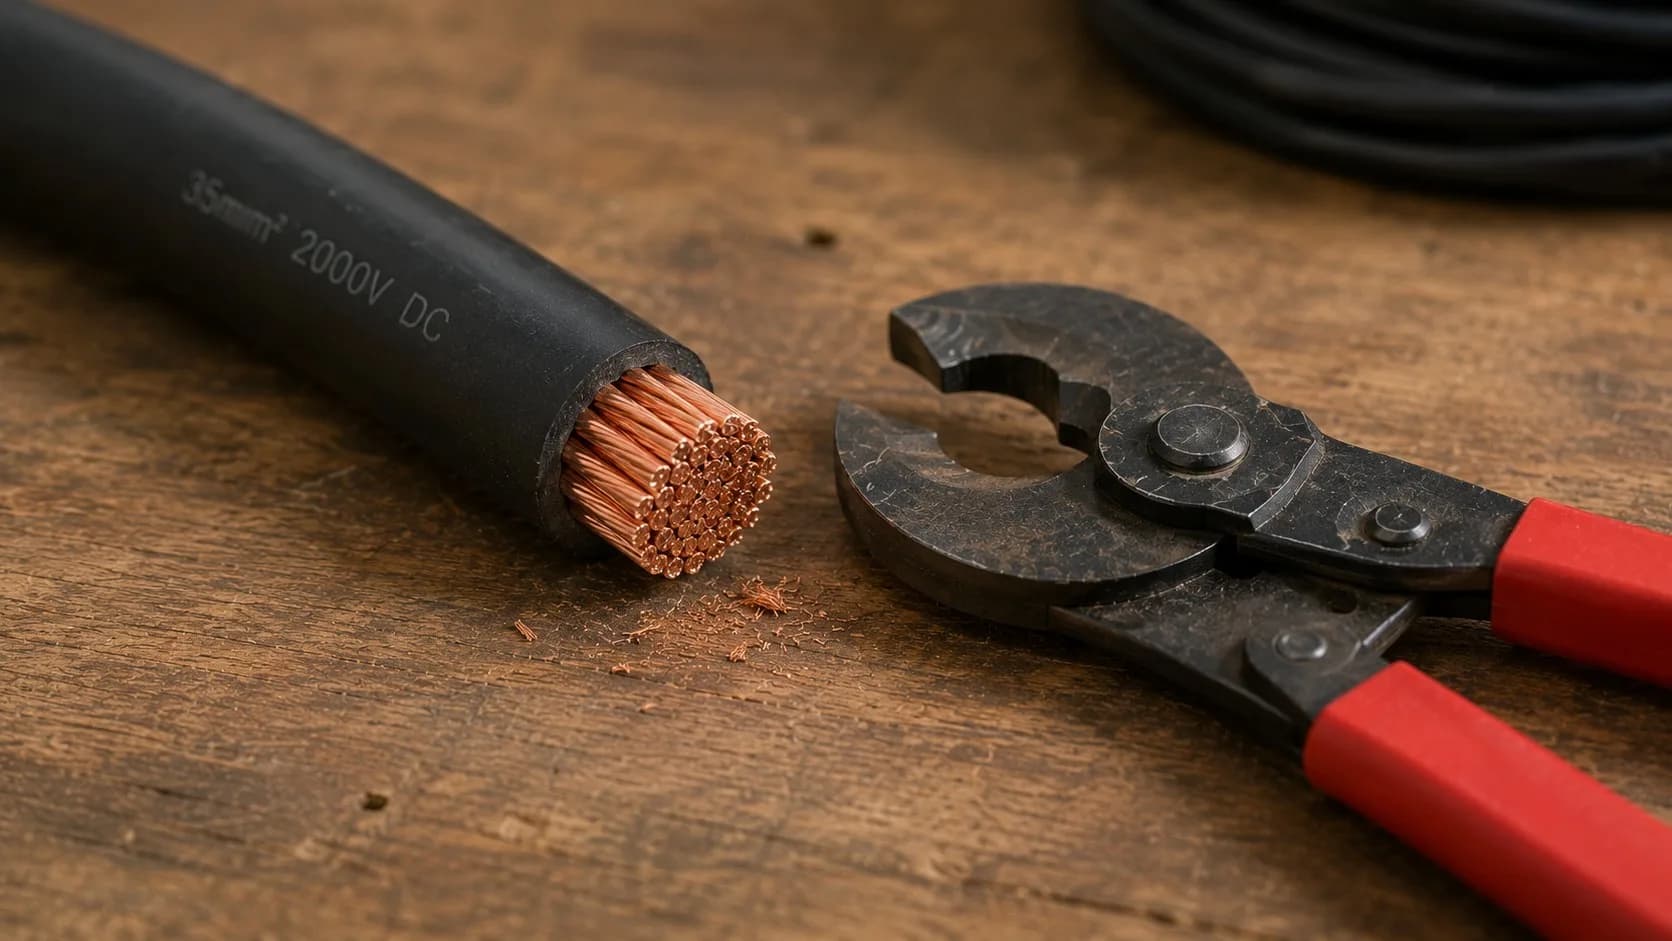
Use the right size cables (too thin and they melt). Use the right size fuses (too big and they don't blow when they should). Make every connection tight.
A fuse that blows in 1 millisecond can save your whole system from a fire. Worth getting right.
→ Read more about wiring the system
One Last Thing
Building this yourself is doable. Plenty of people have. But if you've never touched mains wiring, get someone who has to check your work before you flip the switch.
The chemistry inside that battery has more energy than you might think. Treat it with respect and it'll run your house for 10+ years.